

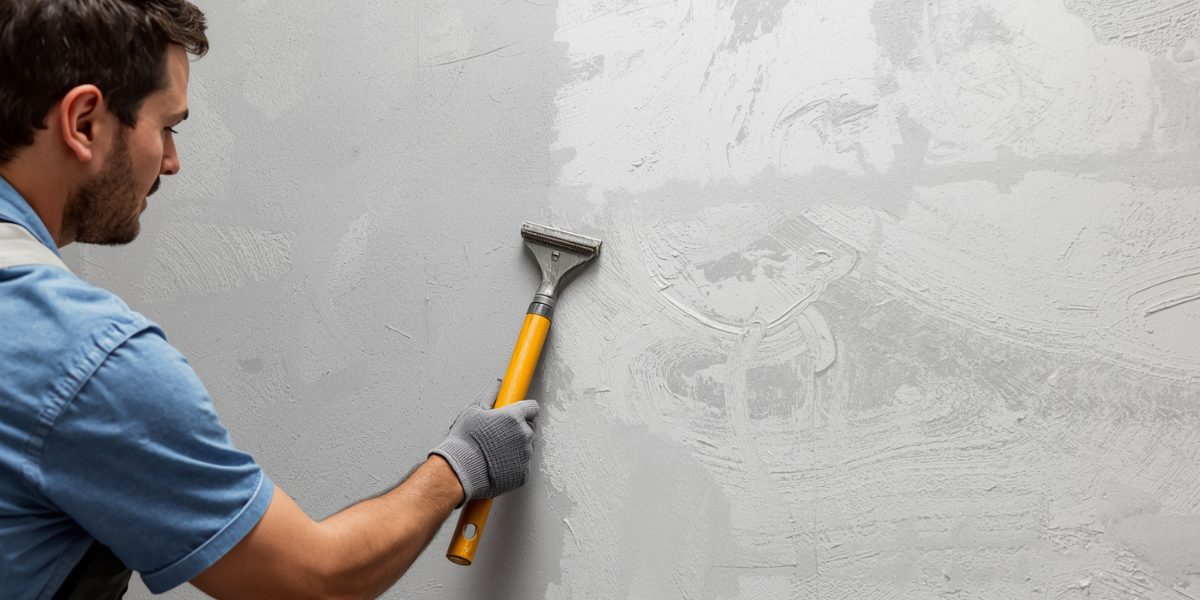

Ask any experienced renderer and they’ll say the same thing: the render is only as good as what it’s applied to. A perfect acrylic finish over a poorly prepared wall will crack, delaminate, or fail within years. The same product over a properly prepared surface can last decades.
Here’s a transparent look at what professional wall preparation for rendering actually involves — every step, and why each one matters.
Why Preparation Is Non-Negotiable for Rendering
Rendering is a thicker, heavier coating system than paint. It relies on mechanical bond (physical keying into the substrate) and chemical adhesion (from bonding agents) to stay in place. If either of these is compromised — by contaminants, unstable substrate, or incompatible existing materials — the render will fail.
In South-West Sydney homes — where older brick veneer, painted brick, and failed render are common — surface preparation is often where the most skilled work happens, before a trowel of render goes on.
Step 1: Assessment — Understanding What You’re Working With
Before any prep begins, a professional renderer evaluates the wall:
Surface type — bare brick, painted brick, existing render (in what condition?), concrete block, Hebel, or other masonry. Each has different preparation requirements.
Existing coatings — is there existing paint or old render? How well is it adhered? Is the existing render sand and cement or acrylic? Is there failed or hollow render that sounds “dull” when tapped? Hollow sections must be removed, not rendered over.
Cracks and damage — are cracks hairline or structural? Do they follow specific patterns (diagonal cracks at corners suggest foundation movement; horizontal cracks suggest lateral load; random pattern cracks can indicate various causes)? This assessment determines whether cracks can be filled and rendered over or whether a more significant repair is needed first.
Salt and contamination — is there efflorescence (white salt deposits) on the surface? Mould or biological growth? Oil or grease contamination near garages or mechanical areas?
Moisture — is the wall dry? Any active moisture ingress (from gutters, plumbing, rising damp) must be identified and resolved before rendering. Rendering over a wet or damp wall leads to early failure.
Step 2: Remove What Shouldn’t Be There
Failed or Hollow Render
Any existing render that sounds hollow when tapped, is visibly cracked, or is lifting must come off before new render is applied. Rendering over hollow render traps air and moisture behind the new coat — the new render will eventually crack and pull off the hollow section underneath.
Removal methods:
- Hand chisels and bolsters for smaller areas
- Angle grinders with cup wheels for larger areas
- SDS hammers for bulk removal of thick old render
After removal, the exposed masonry is assessed and any damaged or loose bricks/mortar joints are repaired before proceeding.
Loose or Unstable Existing Paint
On painted brick surfaces — common in Bankstown homes from the 1970s and 80s — paint that’s peeling or poorly adhered must be removed. Acrylic render bonded to a loose paint layer will pull the paint off when thermal movement occurs.
This typically involves scraping, pressure washing, and sometimes chemical paint strippers for stubborn coatings.
Efflorescence
Salt deposits on masonry must be wire-brushed off completely. The source of the salt (usually moisture moving through the wall) should be investigated — if active moisture ingress is causing the efflorescence, that needs to be addressed before rendering proceeds.
Step 3: High-Pressure Washing
Once loose material, failed render, and contamination have been mechanically removed, the wall is pressure-washed to:
- Remove remaining dust, dirt, and loose particles
- Clean any remaining biological growth (mould, algae, lichen)
- Open the surface pores of the masonry for better bonding agent adhesion
PSI for masonry: 1,500–2,500 PSI depending on the substrate. Too high on older, softer bricks can damage the face. The surface is allowed to dry fully before the next step — typically 24–48 hours in Sydney conditions.
Step 4: Crack Repairs and Masonry Repairs
Once the surface is dry, cracks and damage are repaired:
Hairline cracks (under 1mm) — these can be addressed by the bonding agent and render system if they’re stable. If they’re active (still moving), a flexible filler or crack stitching may be needed first.
Wider cracks (1mm+) — cut out slightly wider than the crack (raking out the crack), clean thoroughly, and fill with an appropriate cement-based filler or flexible exterior sealant depending on the crack’s nature and likely movement.
Damaged bricks or mortar joints — replace damaged bricks and repoint any deteriorated mortar joints. The mortar in the joint must be intact for render to bridge the joint properly.
Control joints — professional renderers install control joints (expansion joints) in the render at strategic locations: at corners, around windows, at material changes, and at intervals of approximately 3–4 metres in long wall runs. Control joints allow thermal movement to occur at specific points rather than randomly cracking the render face.
Step 5: Applying the Bonding Agent
On smooth or low-porosity surfaces — glazed brick, existing painted surfaces, concrete block — a bonding agent (also called a bonding slurry or adhesion promoter) is applied before the scratch coat.
PVA-based bonding agents are common for residential work. The bonding agent is brush- or roller-applied over the entire surface and allowed to become tacky (not dry, not wet — tacky) before the scratch coat is applied on top.
On rough, highly porous masonry surfaces, a bonding agent may not be required — the render can grip the surface mechanically.
Step 6: Installing Angle Beads and Accessories
Before any render goes on:
- Angle beads (metal corner beads) are fixed to all external corners — these protect the render corner edge and give a clean straight line
- Stop beads are installed at render edges — at soffits, windowsills, and anywhere the render terminates against a different material
- Control joint beads are placed at the locations identified in the assessment
These accessories are fixed with render dabs or mechanical fixings and checked for level and plumb before the scratch coat begins.
Step 7: Scratch Coat Application
The scratch coat is the first layer of render. Its purpose is:
- To establish the correct level and flatness of the wall
- To provide a keyed surface for the finish coat to bond to
The scratch coat is applied firmly to the prepared wall and screeded flat using a straight edge (darby). Once partially set, the surface is scratched (scored with a devil float or scratch rake) to create the mechanical key for the finish coat.
Cure time: Sand and cement scratch coats need at least 7 days before the finish coat is applied. Acrylic scratch coat systems have much shorter recoat windows.
Step 8: Finish Coat
The finish coat is applied over the cured scratch coat and brought to the specified finish — smooth, fine texture, or coarse texture depending on the design intent. Smooth finishes take more skill and time than textured finishes.
Once the finish coat has cured fully, the surface is ready for primer and painted topcoat.
What Happens When Preparation Is Skipped?
Predictably bad outcomes when prep steps are skipped:
- Rendering over hollow sections: The new render follows the hollow section down — typically within 1–3 years
- Skipping the bonding agent on smooth surfaces: Delamination — render pulls away from the wall in sheets
- Not repairing active cracks: The crack continues moving and reflects through the new render
- Rendering over damp walls: Moisture trapped behind the render causes blistering and early failure
- No control joints: Random cracking of the render face as thermal movement has nowhere to go
Ready to Get Your Home Rendered in Bankstown?
At Icon Touch, we do the preparation properly — every time. We assess the wall, remove what needs removing, fix what needs fixing, and then render over a surface we’re confident in. That’s why our rendering jobs last.
We service Bankstown, Greenacre, Punchbowl, Campsie, Yagoona, and across South-West Sydney.
