

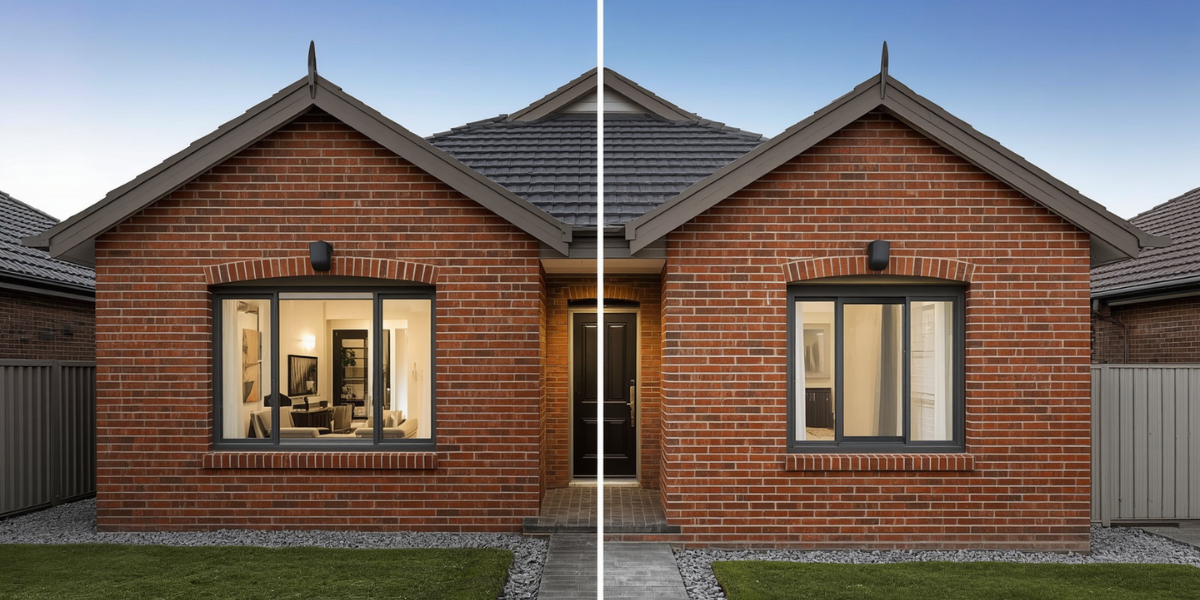

It’s one of the most common questions we get from Bankstown homeowners who’ve looked at a tired red or cream brick exterior and thought — “could we just render over it?”
The short answer is yes. The longer answer involves a few important conditions, some pitfalls to avoid, and a realistic expectation of what the result will look like. Here’s everything you need to know.
Yes, You Can Render Over Brick
Rendering over existing brick is one of the most popular home transformation projects in South-West Sydney. The dated brick veneer homes built across Bankstown, Punchbowl, Greenacre, Yagoona, and surrounding suburbs through the 1960s, 70s, and 80s can be completely transformed by a well-applied render system — without the cost and disruption of rebuilding.
The brick becomes the substrate — the structural wall that the render is applied to. Provided the brick and mortar are in sound condition and the surface is properly prepared, brick is actually an excellent base for render.
The Key Condition: Bonding Agent
This is the most important technical point for rendering over brick.
Brick surfaces — particularly smooth or textured facing brick — have low mechanical keying compared to rougher substrates. Render applied directly to smooth brick without a bonding agent has high delamination risk as thermal movement occurs over time.
A bonding agent (PVA-based slurry, bonding coat, or cement bonding primer) is applied to the entire brick surface before any render goes on. It bridges the adhesion gap between the smooth brick and the render, significantly improving long-term bond strength.
On rougher bricks or reclaimed bricks with highly textured surfaces, mechanical keying may be adequate on its own — but a bonding agent is standard practice and is not optional in Icon Touch rendering work.
Brick vs Render: The Expansion Problem
Here’s a detail that matters for longevity — and that’s not always explained clearly:
Brick and mortar move differently from render under thermal cycling. Brickwork has specific expansion coefficients, and it moves slightly as temperature changes. Render also moves — but at a different rate.
This differential movement is managed through:
Control joints — deliberate weakened lines installed in the render at regular intervals (typically every 3–4 metres horizontally, and at every corner). When the render moves, it does so at the control joint rather than cracking randomly across the face. On a brick substrate, control joints are especially important because the differential movement rate between brick and render is greater than between render and other masonry types.
Flexible acrylic render — the polymer binder in acrylic render gives it inherent flexibility that tolerates more differential movement than rigid sand and cement render. For Bankstown homes with exposed brick veneer — which experiences the significant temperature cycling of South-West Sydney summers — acrylic render is the right product choice.
What Happens to the Mortar Joints?
The mortar joints between bricks create an uneven, textured surface. When render is applied over brick, those joints are filled and the texture is levelled out — but the process takes time and material.
Thin render systems (acrylic texture coats applied in one thin layer) may not fully conceal brick joints, leaving a slight “shadow” pattern visible in the finished surface when light rakes across it at a low angle. This is called mirroring or telegraphing — the brick pattern shows through the render.
To avoid this:
- A thicker scratch coat is applied first to establish a flat, level surface that fully fills the mortar joints
- The finish coat is then applied over the levelled scratch coat
This two-coat system takes more time and material than a single thin-coat application, but produces a smooth, professional finish with no brick joint showing through.
Can You Render Over Painted Brick?
This is where it gets more complicated.
Rendered over sound, well-adhered existing paint on brick — with proper bonding agent application — is generally workable. The bonding agent adheres to the paint, and the render adheres to the bonding agent.
The risk: if the paint underneath is itself poorly adhered, the bonding agent and render will lift the paint off the brick as thermal movement occurs. The render follows the failed paint layer down.
Best practice on painted brick before rendering:
- Test adhesion of the existing paint — scrape with a blade; if it comes off easily, it needs to go
- High-pressure wash thoroughly
- Remove any failing or peeling paint sections completely
- Apply bonding agent over the sound remaining paint and any bare brick sections
- Proceed with scratch coat and finish coat
What About Textured Brick?
Textured or rough-faced brick (common in Bankstown homes from the 1970s) actually creates better mechanical keying for render than smooth brick. The rough texture helps the bonding agent and scratch coat grip the surface. These walls are generally good candidates for rendering.
Clinker brick (dark, fired brick with an irregular surface) also renders well — the texture aids adhesion and the dark colour is completely covered by the render finish.
What About Old Mortar That’s Crumbling?
Deteriorated mortar joints are a problem. If mortar has lost strength, is crumbling, or has gaps, the brick substrate is structurally compromised — and that instability will eventually affect the render over it.
Before rendering over brick with deteriorated mortar, the joints should be raked out (the loose mortar removed to a depth of at least 10–15mm) and repointed with fresh mortar. This should be allowed to cure before rendering begins.
Don’t try to render over crumbling mortar joints. The render will crack and delaminate at those points.
The Visual Result — What to Expect
This is the transformation part. A well-rendered and painted brick home in Bankstown looks completely different:
- The dated brick colour and texture are completely gone
- The home has a clean, contemporary rendered finish
- Colour is introduced through the painted topcoat — giving you full control over the final appearance
- The home’s perceived value typically increases significantly — rendered homes in South-West Sydney generally command higher prices than comparable unrendered brick homes
The transformation is permanent and requires no ongoing work beyond repainting the render surface every 10–12 years.
Common Pitfalls on Brick Rendering Jobs
Skipping the bonding agent — the most common cause of delamination on rendered brick. Not optional.
Thin single-coat applications — some operators apply a thin acrylic texture coat directly to brick to save time. The result can show brick joint mirroring and is less durable than a proper two-coat system.
No control joints — render over brick will crack without control joints at regular intervals. A job with no control joints will eventually show random cracking.
Not checking for structural issues first — diagonal cracks in brickwork, subsidence, or water damage need to be addressed before rendering conceals them.
Rendering Brick Homes in Bankstown — The Icon Touch Approach
At Icon Touch, we render brick homes across Bankstown, Punchbowl, Greenacre, Campsie, Belmore, Roselands, and South-West Sydney broadly. Every brick rendering job includes a proper bonding agent, a levelling scratch coat, and control joints — because that’s what makes it last.
