

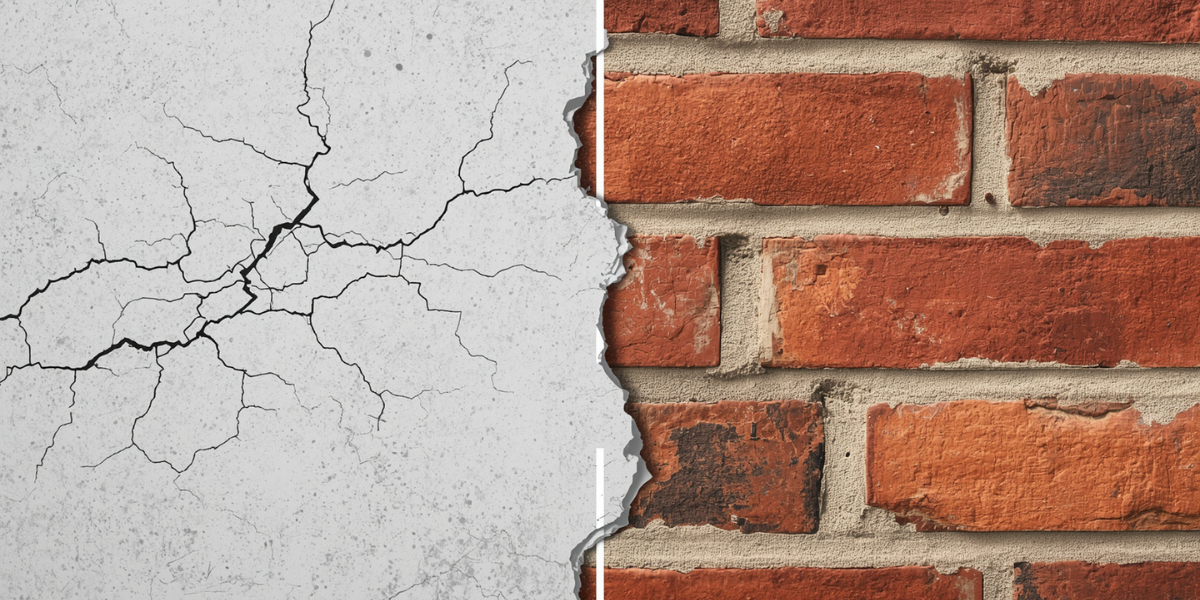

Cracks in rendered walls are one of the most common homeowner concerns in South-West Sydney — and also one of the most misunderstood. Not all cracks are equal. Some are cosmetic and easily fixed. Others are symptoms of something more significant that a coat of filler won’t resolve.
Here’s how to tell the difference, what the correct fix is for each type, and when patching doesn’t cut it.
First: Why Does Render Crack?
Understanding the cause is the starting point for choosing the right fix. Render can crack for several distinct reasons:
Thermal movement — the most common cause. All building materials expand and contract with temperature changes. In South-West Sydney’s climate — with hot summers and cooler winters — this movement is significant. Render that has no flexibility (rigid sand and cement) or has no control joints to accommodate movement will develop random cracks over time as thermal stress accumulates.
Substrate movement — if the wall behind the render moves (foundation settlement, minor building movement, expansion of the brick substrate), the render above it will reflect that movement as cracks.
Poor preparation — render applied over a surface that wasn’t properly prepared (no bonding agent, rendering over loose existing material, rendering over damp walls) loses adhesion over time and cracks or delaminations.
Shrinkage during cure — particularly in sand and cement render, improper mixing or application (too much water, drying too fast in hot conditions) can cause shrinkage cracking during the cure period.
Render beyond its service life — older render that has been in place for many years will eventually show widespread deterioration as the product reaches the end of its lifespan.
Types of Cracks and What They Mean
Hairline Cracks (Under 0.5mm)
Very fine cracks that don’t penetrate deeply. Common on older render surfaces, particularly sand and cement render that’s been in place for 10+ years.
What they mean: Generally cosmetic or shallow thermal cracking. The render underneath is likely still well-adhered.
How to fix: Hairline cracks on otherwise sound render can be filled with a flexible exterior filler or paintable caulk before repainting. The key word is flexible — rigid fillers will crack back open with the next thermal cycle.
Patch or redo? Patch — provided the surrounding render is sound (test by tapping; it should ring solid, not hollow).
Wider Cracks (1–3mm)
Cracks that are visible at a distance and have clearly opened up over time. May follow a pattern (at window corners, along horizontal joints, at render edges) or appear randomly.
What they mean: More significant thermal movement, possible substrate movement, or the beginning of adhesion loss in the area around the crack.
How to fix:
- Widen the crack slightly with a grinder or chisel (raking out) to create a “V” profile for filler to key into
- Clean the crack thoroughly — remove all loose material and dust
- For cracks up to 3mm: use a flexible exterior filler or polymer-modified render filler
- For cracks at movement-prone locations (window corners, wall junctions): use flexible paintable sealant rather than rigid filler
- Prime and repaint
Patch or redo? Patch in most cases — but assess whether this is an isolated crack or part of a pattern. Isolated cracks at high-stress points (window corners, render edges) are common and patchable. Random cracks appearing across the whole wall are more concerning.
Cracks With Hollow Sections Behind Them
You find these by tapping. Tap the render across the wall — sound render rings firmly; delaminated render sounds dull or hollow. When hollow sections are present adjacent to or behind cracks, it indicates the render has lost adhesion to the substrate.
What they mean: The render in these areas is no longer bonded to the wall. These sections will eventually fall off, often pulling other render with them as they go.
How to fix: Hollow sections cannot be repaired by filling the crack on the face. The only correct fix is to remove the hollow render (it will come off in sections or sheets once the adhesion has failed) and re-render those areas.
Patch or redo? This depends on the extent:
- Small isolated hollow sections (less than 20% of the wall): Remove and patch the affected areas, feathering the edges so the new render meets the old. The challenge is matching the texture and colour — more on this below.
- Large or widespread hollow sections (20%+ of the wall): Full re-render is typically more cost-effective than extensive patching, and produces a more uniform result.
Pattern Cracking (Map Cracking or Alligator Cracking)
A network of interconnected cracks creating irregular polygonal shapes across the wall surface. Common in older sand and cement render that has become brittle over time.
What they mean: The render has exceeded its service life and is experiencing widespread adhesion or cohesion failure. The cracks form a map pattern as the render attempts to move in multiple directions simultaneously.
How to fix: Pattern cracking across significant areas of the wall is a sign that re-rendering is the appropriate solution. Filling individual cracks in a wall with widespread map cracking is not effective — more cracks will appear within a season.
Patch or redo? Redo.
Diagonal Cracks From Window and Door Corners
These are worth special attention. A crack running at approximately 45° from the corner of a window or door opening is one of the most consistent crack patterns seen in South-West Sydney rendered homes.
What they mean: Stress concentration at the corners of openings (corners are the stress points in any wall when thermal or structural movement occurs). In most cases, these are thermal movement cracks rather than structural cracks.
How to fix: Rake out the crack to a V profile, fill with flexible paintable sealant (not rigid filler — the corner will move again), and repaint. Installing a proper control joint bead at the window corner when re-rendering prevents recurrence.
Patch or redo? Patch with flexible sealant for isolated occurrences. If the same cracks keep appearing after filling, a more thorough repair including proper control joint installation is needed.
Cracks With Discolouration or Staining
If cracks appear alongside discolouration — brown or yellow staining, white efflorescence, or dark moisture marks — moisture is involved.
What they mean: Water is entering through the crack and tracking through the render. The source might be a failed window seal, a gutter issue, or active rising damp.
How to fix: The moisture source must be identified and resolved before the crack is filled. Filling a crack while moisture is still entering will result in the fill failing quickly and the crack reopening. Fix the leak/drainage/damp issue first, allow the wall to dry fully, then fill and repaint.
The Patching Challenge — Matching Existing Render
Patched render sections are often visible — different texture, different colour, or both. This is particularly challenging on:
- Textured finishes — matching a specific texture requires the same product and the same application tool/technique
- Aged, weathered render — fresh render patches will look brighter than the surrounding aged surface for 1–2 years
- Coloured render — if the render has integral colour (colour-through render rather than painted surface), matching the patch colour requires the same product batch
The practical solution: If significant patching is needed across multiple areas of the wall, a full repaint after patching helps unify the appearance. The patched areas are primed and repainted along with the whole wall surface, minimising the visual mismatch.
When Patching Is Not the Right Call
Sometimes the honest answer is that re-rendering is the better choice:
- More than 20–30% of the wall has hollow sections
- The existing render is sand and cement that’s 20+ years old with widespread cracking
- The texture is unusual and matching it is impractical
- The cost of extensive patching approaches the cost of a full re-render
- You’re planning to sell the property and a patched appearance won’t present well
Get an Assessment on Your Rendered Bankstown Home
At Icon Touch, we assess rendered walls honestly — patch what can be patched, re-render what needs it, and give you a clear explanation of why. We serve Bankstown, Greenacre, Punchbowl, Chester Hill, Campsie, Roselands, and across South-West Sydney.
